

Cart Details Should Go Here
There’s nothing quite like the feeling of getting a brand new surfboard. From the smell of the resin on your car ride home to the little bits of extra foam dust that get all over your shirt, nothing beats it. Once you safely transport your new craft back your your living room floor and finish mind surfing perfect waves, it’s time to put on a traction pad and wax that blade up! This can be easier said than done, though, so let’s roll through proper technique to make sure your new board is ready to perform on wave #1.
Traction Pad Application
First things first, if you are riding a shortboard, you’ll probably want to buy a traction pad when you get your board. Shape, arch and kick height vary so make sure you do a little research and stand on a couple at the store to see what feels good. When you’re ready to stick it on, make sure the surface of the board is clean and free of any foam dust or dirt.
Before removing the paper backing, line it up on the board to get an idea for where each piece of the traction pad will sit. If you’re not confident in just eyeballing it, you can use a pencil to mark the outline of the separate pieces. If you have a 3 piece pad, stick the middle section on first while leaving the side parts resting in place for a frame of reference. Ideally, you want the kick of the pad to be pushed right up against the top leash plug to maximize the pivot point in your turns. Don’t worry if it’s a millimeter or two off - your foot will probably never know the difference!
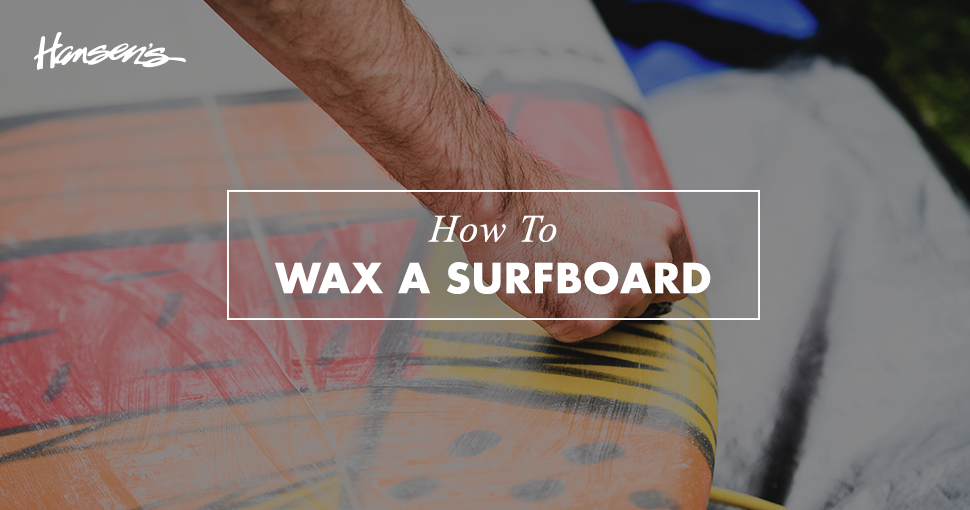
Wax Application
After your traction pad is adhered to the board and you’ve pushed out all the air bubbles, the first wax job is ready to be applied. You’ll want to start off with a significant layer of basecoat to build a bumpy foundation. Basecoat wax is a harder compound than a top coat which helps maintain its shape without flattening out. To get those really grippy bumps, rubbing the wax in opposite directions is the name of the game.
Start by rubbing from just above the traction pad to about ¾ up the deck of the board. Try to keep the strokes paralleling the stringer and continue till you have a fair amount rubbed on. Then, switch directions and apply the wax from rail to rail, perpendicular to the stringer. Repeat this process about every minute and you’ll have a wax job you can trust even on the steepest of sections.
TIP: Don’t use too much pressure when rubbing the basecoat wax on your board. As your bumps build up, friction will increase causing the bar of wax to heat up. If your bar is too hot, you can actually cause the bumps to melt and not build up properly.
Before every session, take a topcoat that is within the water temp range you’ll be surfing in and lightly rub on an even layer to make your bumps nice and tacky.
Re-Wax
After a few weeks, depending on how much you surf, your wax will start to turn black, flatten out, and become heavy. Once you’re really in tune with your equipment, you’ll begin to notice that too much wax can cause the board to react slower and feel laggy. When this happens, it’s time to re-wax.
The easiest way to remove wax is to set your board in the sun for a few minutes to warm it up. Once it is partially melted, take a wax comb or old credit card and scrape off the dirty mix of base and top coat. If you’re at the beach doing this, you can use some warm sand to help remove wax stuck in pressure dents from your heel. Just rub the sand over the wax and the warmth will melt it and you’ll be left with a sandy clump you can throw at your friends.
To apply a new wax job, repeat the steps from above and start over with nice fresh bumps!
Looking for a new board? Take a look at our surfboard stock list!
See you in the water,
Hansen’s Surf Shop